1/15/2019
ngIf
There are times where you may need to hide or show content based off a condition in JavaScript. In the past, we've use CSS and classes to hide elements. We can use ngIf to show or hide content.
NgIf actually adds and removes content from the DOM when its condition is triggered.
Syntax
@Component({
  selector: 'my-app',
  template: `
       <input id="textField" value="" />
       <span *ngIf="isInvalid">First name is Invalid</span>
    `
})
export class AppComponent {
    if (txtField == ''){
        isInvalid = true
    }
}
Else
    Visible shown content


    Hidden else content
ngFor
ngFor allows you to loop through and display an array of objects in the view.
Syntax
export class AppComponent {
  names = ['Ted',
    'Fred',
    'Marco',
    'Polo'];
}
-
{{name}}
Output
-
Ted
-
Fred
-
Marco
-
Polo
Component Styles
Styling components in Angular is different than traditional styling.
Inline Syntax
@Component({
  selector: 'app-comp',
  template: `
    Hello Angular
  `,
  styles: [`
    h1 { font-weight: normal; }
    h2 { font-weight: bold; }
   `]
})
export class HeroAppComponent {
/* . . . */
}
External Syntax
@Component({
  selector: 'app-comp',
  template: `
    Hello Angular
  `,
    styleUrls: ['app.component.css']
})
export class HeroAppComponent {
/* . . . */
}
CSS Encapsulation
@Component({
  selector: 'app-comp',
  template: `
    Hello Angular
  `,
  styles: [`
    h1 { font-weight: normal; }
    h2 { font-weight: bold; }
   `]
})
export class HeroAppComponent {
/* . . . */
}
<h1 _ngcontent-pmm-1>Hello Angular</h1>
h1[_ngcontent-pmm-1] { font-weight: normal; }
Encapsulation Continued
- The styles specified in @Component metadata apply only within the template of that component.
- They are not inherited by any components nested within the template nor by any content projected into the component.
- Angular generates custom attributes to help scope our CSS class names to our given component.
PrimeNG
For "common" components, don't build your own. Use a library like PrimeNG and override the styling for your project.
Questions?
Let's start building an app.
Open your terminal
CD into a non-git directory to start your work.
Create your app
ng new [name] --routing --style=scss --dry-run
Replace [name] with what you want to name your app.
- Examples:
-
ng new taco-truck --routing --style=scss --dry-run -
ng new blockbuster-reopening --routing --style=scss --dry-run
Verify your app is properly scaffolded in the dry run.
- Do you see
-
/src/app.component.scss -
/src/app-routing-module.ts
Run the code without the
--dry-run
You can press up on your arrow pad and just delete it.
Lets talk about something else while that runs
Wireframing
Wireframing is the process of visually laying out a website in preparation for design or development.
Benefits
- Plan your layout before you build
- Can build a clickable experience
Basic Examples
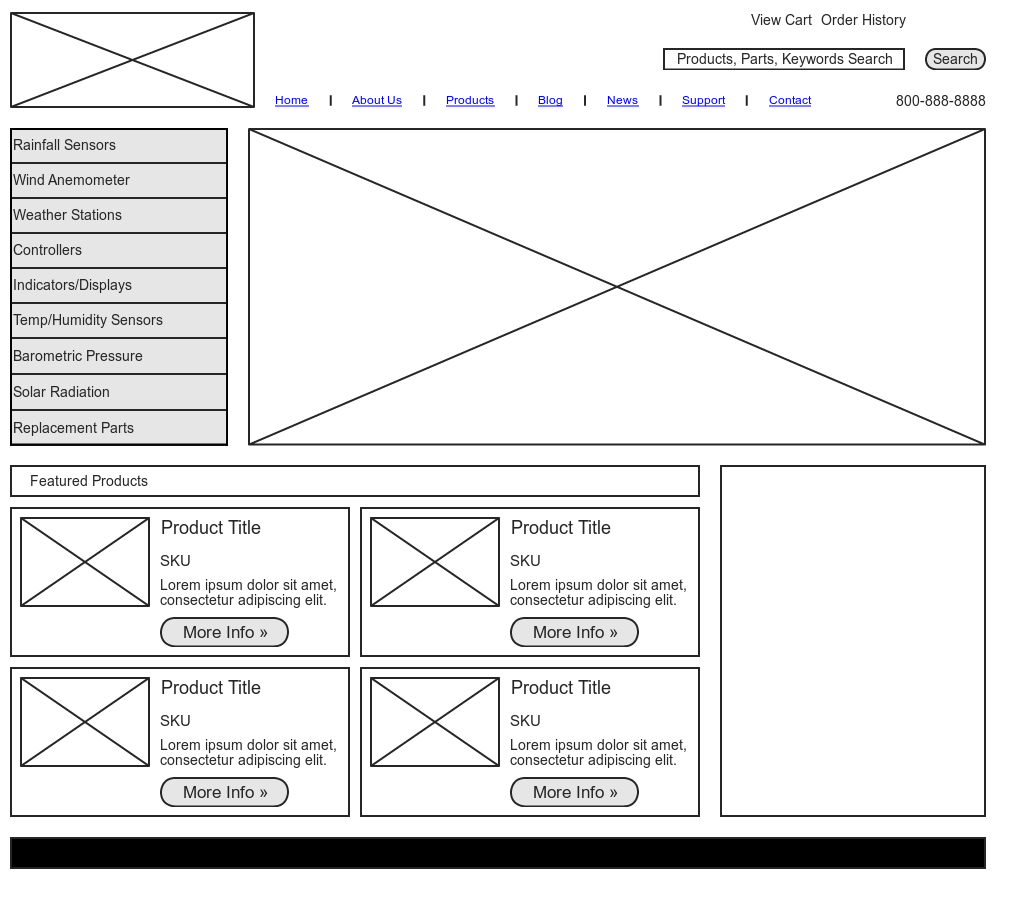
Clickable Example
Tools
Run your app
ng serve --open
This will start your server and open the web browser.
Change some HTML in app.component.html and save.
Verify the page updates
Generating Your First Component
Steps
- Open a terminal window
- CD into your project directory
-
ng generate component taco-menu - or
-
ng g c taco-menu
All new components will have "something works" as it's default html
Insert the new component into the app.component.html file.
Interface generation
Think about the properties you want in your main object.
Example
Menu Item - Simple
- Name : string
- Description : string
- Category : string
- Price : number
- IsFeatured: boolean
Menu Item - Complex
- Name : string
- Description : string
- Category : string
- Price: number
- IsFeatured: boolean
- Allergens : Array of strings
- Calories: number
-
Tags: Array of Tag
- Tag Id
- Tag Name
Generate that interface!
ng g i shared/interfaces/menu-item
Build Interface
export interface MenuItem {
    name: string;
    description: string;
    category: string;
    price: number;
    isFeatured: boolean;
}
Go to your component, import the module and create a variable for it.
import { MenuItem } from '../shared/interfaces/menu-item';
Menu Item
export class TacoMenuComponent implements OnInit {

    menuItem: MenuItem = {
        name: 'Taco',
        description: 'Just a taco',
        category: 'Tacos',
        price: 1.5,
        isFeatured: false
    };

    constructor() { }
    ngOnInit() { }

}
Display the menu item
Menu Item
Create a list of Items
We will loop through them
menuItems: ArrayAdd Items to the array
I'm going to just add our menuItem multiple times.
ngOnInit() {
    this.menuItems.push(this.menuItem);
    this.menuItems.push(this.menuItem);
    this.menuItems.push(this.menuItem);
}
Loop and display them with an *ngFor
    {{item.name}}
    {{item.description}}